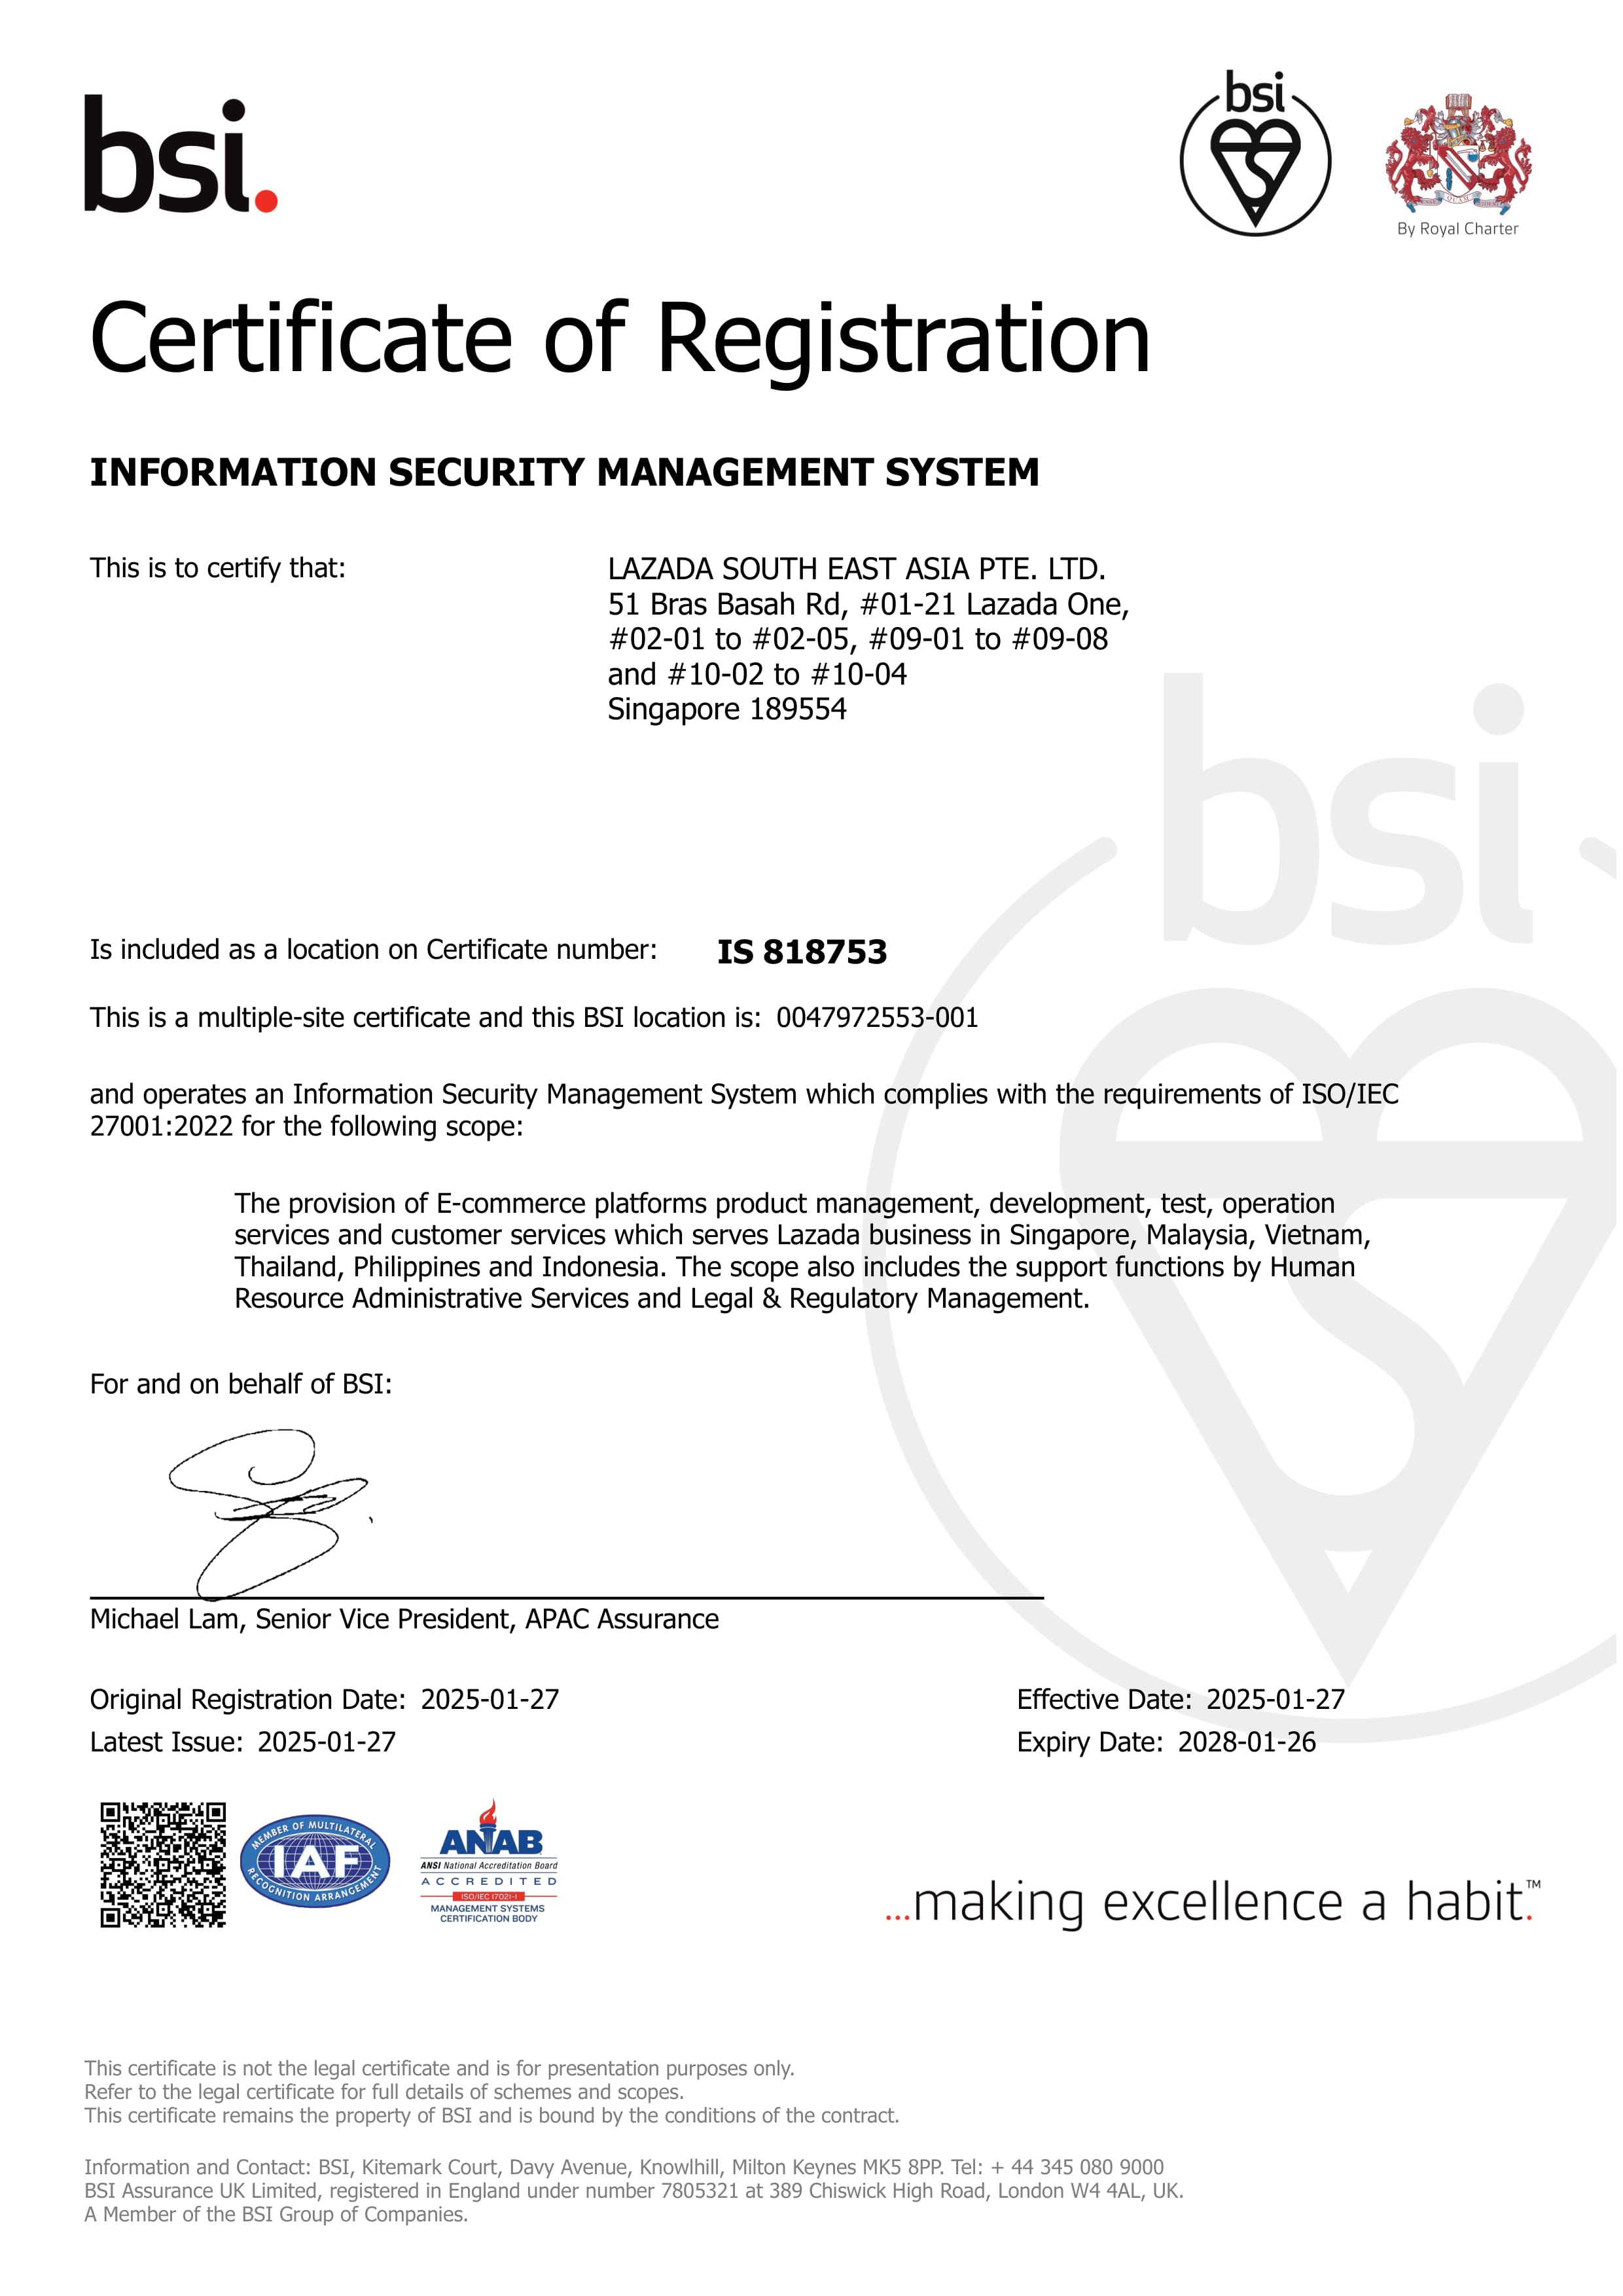


Aideepen | DC 12V Timer Delay Relay Module Cycle Timer Switch Optocoupler Isolation Trigger Timing Delay Relay LED Smart Home Controller
Module Highlights:1. Wide voltage input range: 6–12 V DCSupports 5.0 V power supply via micro USB, making it very convenient to use;2. Clear and simple interface with powerful, easy-to-understand features that meet virtually all your needs;3. Features a one-touch emergency stop function (STOP button) with reverse polarity protection to prevent damage from incorrect connections;4. Added sleep mode: when enabled, the display automatically turns off after 5 minutes of inactivity; press any button to wake it up;5. Different OP, CL, and LOP parameters can be set; these parameters are independent of each other and saved separately;6. All settings are automatically saved when power is lostOperating Modes:P1: After the signal is triggered, the relay remains energized for the OP time, then de-energizes; during the OP time, the following operations occurP1.1: Subsequent signal triggers are ignored;P1.2: Subsequent signal triggers restart the timer;P1.3: Subsequent signal triggers a reset; the relay de-energizes and the timer stops;P-2: Upon receiving a trigger signal, the relay de-energizes for CL time, then energizes for OP time; after the timer completes, the relay de-energizes;P3.1: Upon receiving a trigger signal, the relay remains energized for OP time, then de-energizes for CL time, and repeats the above cycle. If a signal is received again during the cycle, the relay de-energizes and timing stops; the number of cycles (LOP) is configurable;P3.2: Upon power-up, without a trigger signal, the relay remains energized for OP time, then de-energizes for CL time, and repeats the above cycle; the number of cycles (LOP) is configurable;P-4: Signal Hold Function If a trigger signal is present, the timer resets and the relay remains energized; when the signal disappears, the relay de-energizes after the OP time elapses; if a signal is received during the timing period, the timer resets;Product Specifications:1: Operating Voltage: DC 6 to 12V (supports 5.0V power supply via micro USB)2: Trigger Signal Source: High-level trigger (3.0V–24V)The signal ground is isolated from the system ground to enhance the system’s immunity to interference(Can also be shorted to share a common ground)3: Output Capability:Can control devices with DC up to 30V 5A or AC up to 220V 5A4: Quiescent Current: 20mA; Operating Current: 50mA5: Service Life: Greater than 100,000 cycles;Operating Temperature: -40–85°C;Dimensions: 6.2 × 3.8 × 1.7 cm6: Features optocoupler isolation to enhance anti-interference capability; industrial-grade circuit board; set parameters are permanently retained after power loss.How to select the timing range:After setting the parameter values on the mode selection screen, briefly press the STOP button to select the timing rangeXXX. Decimal point in the ones place, timing range: 1 second–999 secondsXX.X: Decimal point in the tens place; timing range: 0.1 seconds – 99.9 secondsX.X.X.: All decimal places lit; timing range: 1 minute – 999 minutesFor example, if you want to set OP to 3.2 seconds, move the decimal point to the tens place; the display will show 03.2Parameter Description:OP: On-time, CL: Off-timeLOP: Number of cycles (1–999; “---” indicates infinite cycles)These parameters are independent of each other but are shared across all modes.For example, if the on-time (OP) is set to 5 seconds in mode P1.1, and the user switches to mode P1.2, the OP will remain 5 seconds when entering P1.2 to configure the corresponding parametersOn the main screen (displaying 000), briefly press the SET button to display OP (CL, LOP) and the corresponding time XXX.If a mode contains only OP (e.g., modes P1.1, P1.2, P1.3), briefly pressing the SET button will display only OP and the corresponding time.If the mode includes OP, CL, and LOP (e.g., modes P3.1, P3.2), a short press of the SET key will display OP and its corresponding time, CL and its corresponding time, and LOP and its corresponding count.After setting the mode, you can easily view the parameters configured for the current mode by short-pressing the SET key on the main interface, which is very convenient.How to Set Parameters1. First, determine the relay’s operating mode.2. Based on the relay’s operating mode, on the main screen (when the module powers on, the current operating mode will flash briefly [default mode P1.1], then the main screen will appear), “press and hold the SET button for 2 seconds, then release” to enter the mode selection screen. Use the UP and DOWN buttons to select the mode you wish to set (P1.1–P4).3. After selecting the mode to configure (e.g., P3.2), briefly press the SET key to set the corresponding parameters. The parameter to be set will flash (OP On-time, CL Off-time, LOP Cycle Count (“---” indicates infinite cycles). Use the UP and DOWN keys to adjust the parameter values; both long press (rapid increase or decrease) and short press (increase or decrease by 1 unit) are supported; After setting the parameter value, press the STOP button briefly to select the decimal point position and choose the timing range (0.1 seconds to 999 minutes). Press the SET button briefly to set the next parameter for the current mode; the process is the same as above4. After setting the parameters for the selected mode, press and hold the SET button for 2 seconds, then release it. The currently set mode will flash once, and the device will return to the main interface, indicating successful parameter configuration—it’s very simpleMain Interface: Displays “000” (without a decimal point) when the relay is inactive; displays a decimal point when the relay is active, making it very clear.Mode Selection Interface: Press and hold the SET button to enter; press and hold the SET button again to exit and return to the main interface.STOP Button Function ExpansionRelay Enable Mode1. ON: The relay is allowed to conduct during the ON duration.2. OFF: The relay is prohibited from conducting and remains in the off state.Press the STOP button briefly on the main screen to toggle between ON and OFF. The current status will flash, and the display will return to the main screen. (This function serves as an emergency stop, allowing you to disconnect a closed relay with a single press.)Sleep Mode:C-P Sleep Mode: If no operation occurs within five minutes, the LED display automatically turns off, and the program continues to run normally.O-d Normal Mode: The LED display remains on at all times.Press and hold the STOP button for 2 seconds, then release to toggle between C-P and O-d modes. The current status will flash, and the device will return to the main interface.Product List1x Relay Module

Prime Supply_Play Life
Review

You May Also Like
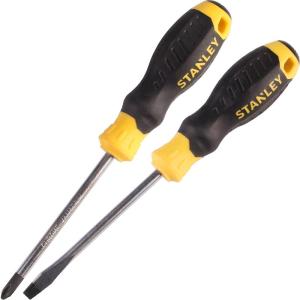
STANLEY | Cross and Flat Head Magnetic Long-Reach Screwdriver small industrial-grade
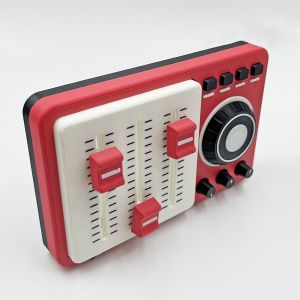
FLEURS Vintage Light Switch Guard Covers Creative 3 Switches Joystick Switch Stickers Switch Plate Removable Mixing Console Shaped Switch Cover Home Decoration

1Pcs Of Outdoor Camping Elastic Tent Rope Hiking Luggage Binding Rope Stretching Belt Camping Accessories 60/90/120CM

Toughbuilt | Folding Extra Large Workbench

GP ReCyko NiMH 2x AA 2100mAh Rechargeable Battery
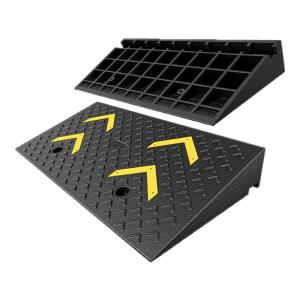
XINWANHUANG | Door Threshold Ramp Pad

DELIXI Electric | Heavy Duty Electric Jackhammer for Demolition

19cm/24cm Long Sticky Lint Roller Mop Lint Remover Lint Roller Standing Laundry / Lucky Living

WENQI Corrosion Resistant 115 in1 Screwdriver Set ic Bits Precision ic Screwdriver Set Professional Mini Screw Nuts Bits Repair Tool Kit Camera Repair
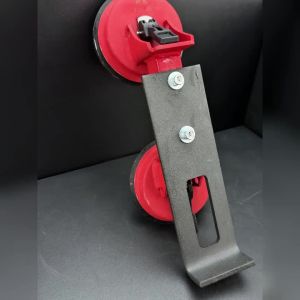
Heavy Duty Floor Fixer Tool Suction Cup Vacuum Grabber for Tile Slat Baseboard Paver Carpentry Construction in Bathroom Kitchen
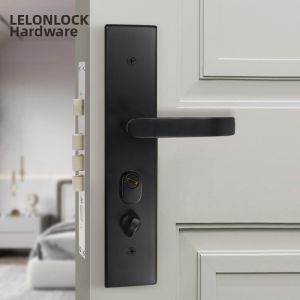
Anti-theft Stainless Steel 304 Home Panel Lock Set Black Universal