


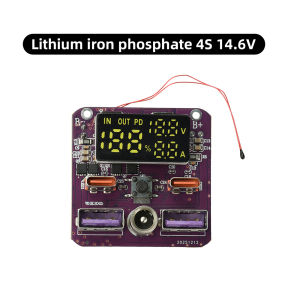
DIY Power Bank Circuit Board 100W Bidirectional Fast Charge Module DC 5.5x21 Interface Real‑Time Voltage Current Display
Product Features1. 100W bidirectional fast charging, meeting high-speed charging and discharging needs2. Powerful 20V/5A output capability, suitable for applications such as power banks and energy storage systems3. Intelligent identification of device requirements, safely and efficiently matching charging current and voltage4. Easily handles device charging, significantly reducing charging waiting time5. Automatically adapts to multiple protocols such as fast charging and standard charging, widely compatible with mainstream electronic devicesProduct ParametersType-C1 Input: 5V-3A, 9V-3A, 12V-3A, 15V-3AType-C2 Input: 5V-3A, 9V-3A, 12V-3A, 15V- 3A, 20V-3.25AType-C1 Output: 5V-3A, 9V-3A, 12V-3A, 15V-3A, 20V-5AType-C2 Output: 5V-3A, 9V-3A, 12V-3A, 15V-3A, 20V-3.25AUSBA1 Output: 5V-3A, 9V-2A, 12V-1.5A (22.5W), 20V-5A (ufcs protocol)USBA2 Output: 5V-3A, 9V-2A, 12V-1.5A (22.5W), 20V-5A (ufcs protocol)DC Interface: DC 55*21MM Real-time display of battery level, voltage, and currentPrecautions1. Do not solder while the circuit is powered on. When soldering the + and - wires on the main board, the protection board will not output voltage, preventing 99.99% of accidents.2. The main board only has + and - wires. Soldering while powered on can easily burn the circuit due to shaky hands. Please disconnect the power before soldering. Connect the main board + and - wires first. Solder the negative terminal of the battery pack last! The two main board wires cannot balance the battery; the balancing protection function is on the lithium battery protection board.Frequently Asked Questions1. For the protection board wiring, for a 4S battery pack, starting from the negative terminal, the first + terminal is b1, voltage 4.2V. The subsequent terminals are b2 (8.4V), b3 (12.6V), and b+ (positive terminal, 16.8V). Connect the protection board's P+ and P- terminals to the main board's + terminal.2. If the battery has power but does not light up or work after connection, please charge the C port to activate it. Both the battery's current and charge level require charging for activation.3. After charging activation, the display shows 0 or 100%. The initial power-on display may not accurately show the battery level, but it returns to normal after a charge/discharge cycle.4. During use, charging stops at 80% and discharging stops at 20%. This is due to inconsistent voltage. In the worst case, the battery voltage can be as low as 3V or as high as 4.2V when fully charged, rendering the battery unusable.Upgraded Features1. Main controller upgraded to SW6306V, and the USB-A female connector also upgraded to a 5-pin connector.2. Software upgrade; the screen can now display the battery voltage. Customers using this as a startup power supply do not need to add an additional voltmeter.3. Added a DC 5.5/2.1 interface. This port connects directly to the motherboard +/-, without conversion or regulation. It displays the battery voltage directly. It can be used to charge the battery with 16.8V or for output, with a current limit of 10A.Package ListModule *1

Prime Supply_Play Life
Review

You May Also Like

Water Based Color Changing Tile Paint Waterproof And Wear Resistant Epoxy Paint Anti Fouling Floor Paint Home Renovation Paint防水防污改色漆

360 Rotation Heavy Duty Swivel Base Table Vise Clamp Portable Work Bench Vise For Woodworking Cutting

OSS TEAM U13 UV Curing Light Lamp with Cooling Fans Tools for Mobile Phones Motherboard IC Chip PCB Repair Smoke Exhaust
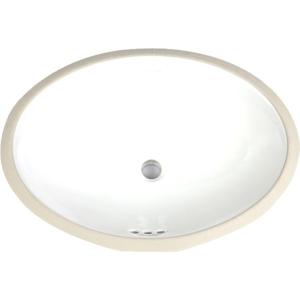
Kohler | Embedded Home Oval Basin
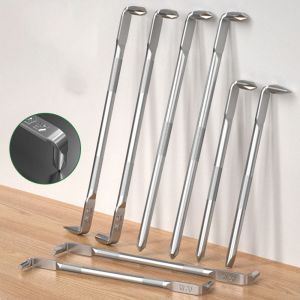
TIMES LORD Angled Crosses Multipurpose Screwdriver ic Flathead Elbow Screwdriver Lengthened S2 Steel Right Angle Screwdriver Drill Bits

XCAN 1pc Rotary Rasp for Angle Grinder 125 Type M14 Wood Grinding Carving File Burr Sanding Disc Head Abrasive Tool

TOTAL 6 In 1 screwdriver set THT2506076
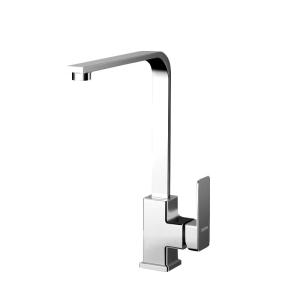
BESTH | Silver Rotatable Kitchen Faucet
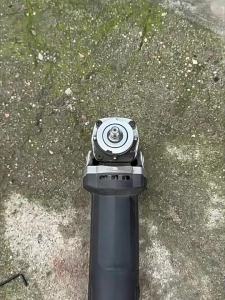
Precision Edge Grinder - Chamfering Tool with Adjustable Multifunctional Alloy Build with Guide Plate Smooth Control
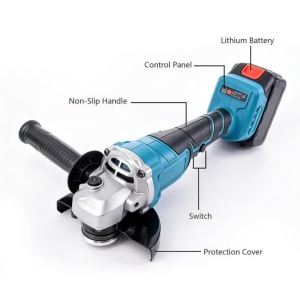
2026 New Brushless Angle Grinder 125mm Cutting Polishing Metal Stone with Battery Control Panel For Makita 18V-21V Battery Pin

TIMES LORD 6pcs ic Cross Head Bit Single Head Anti Slip Phillips Screwdriver Bits High Hardness Impact Strong Drill Bit Screw