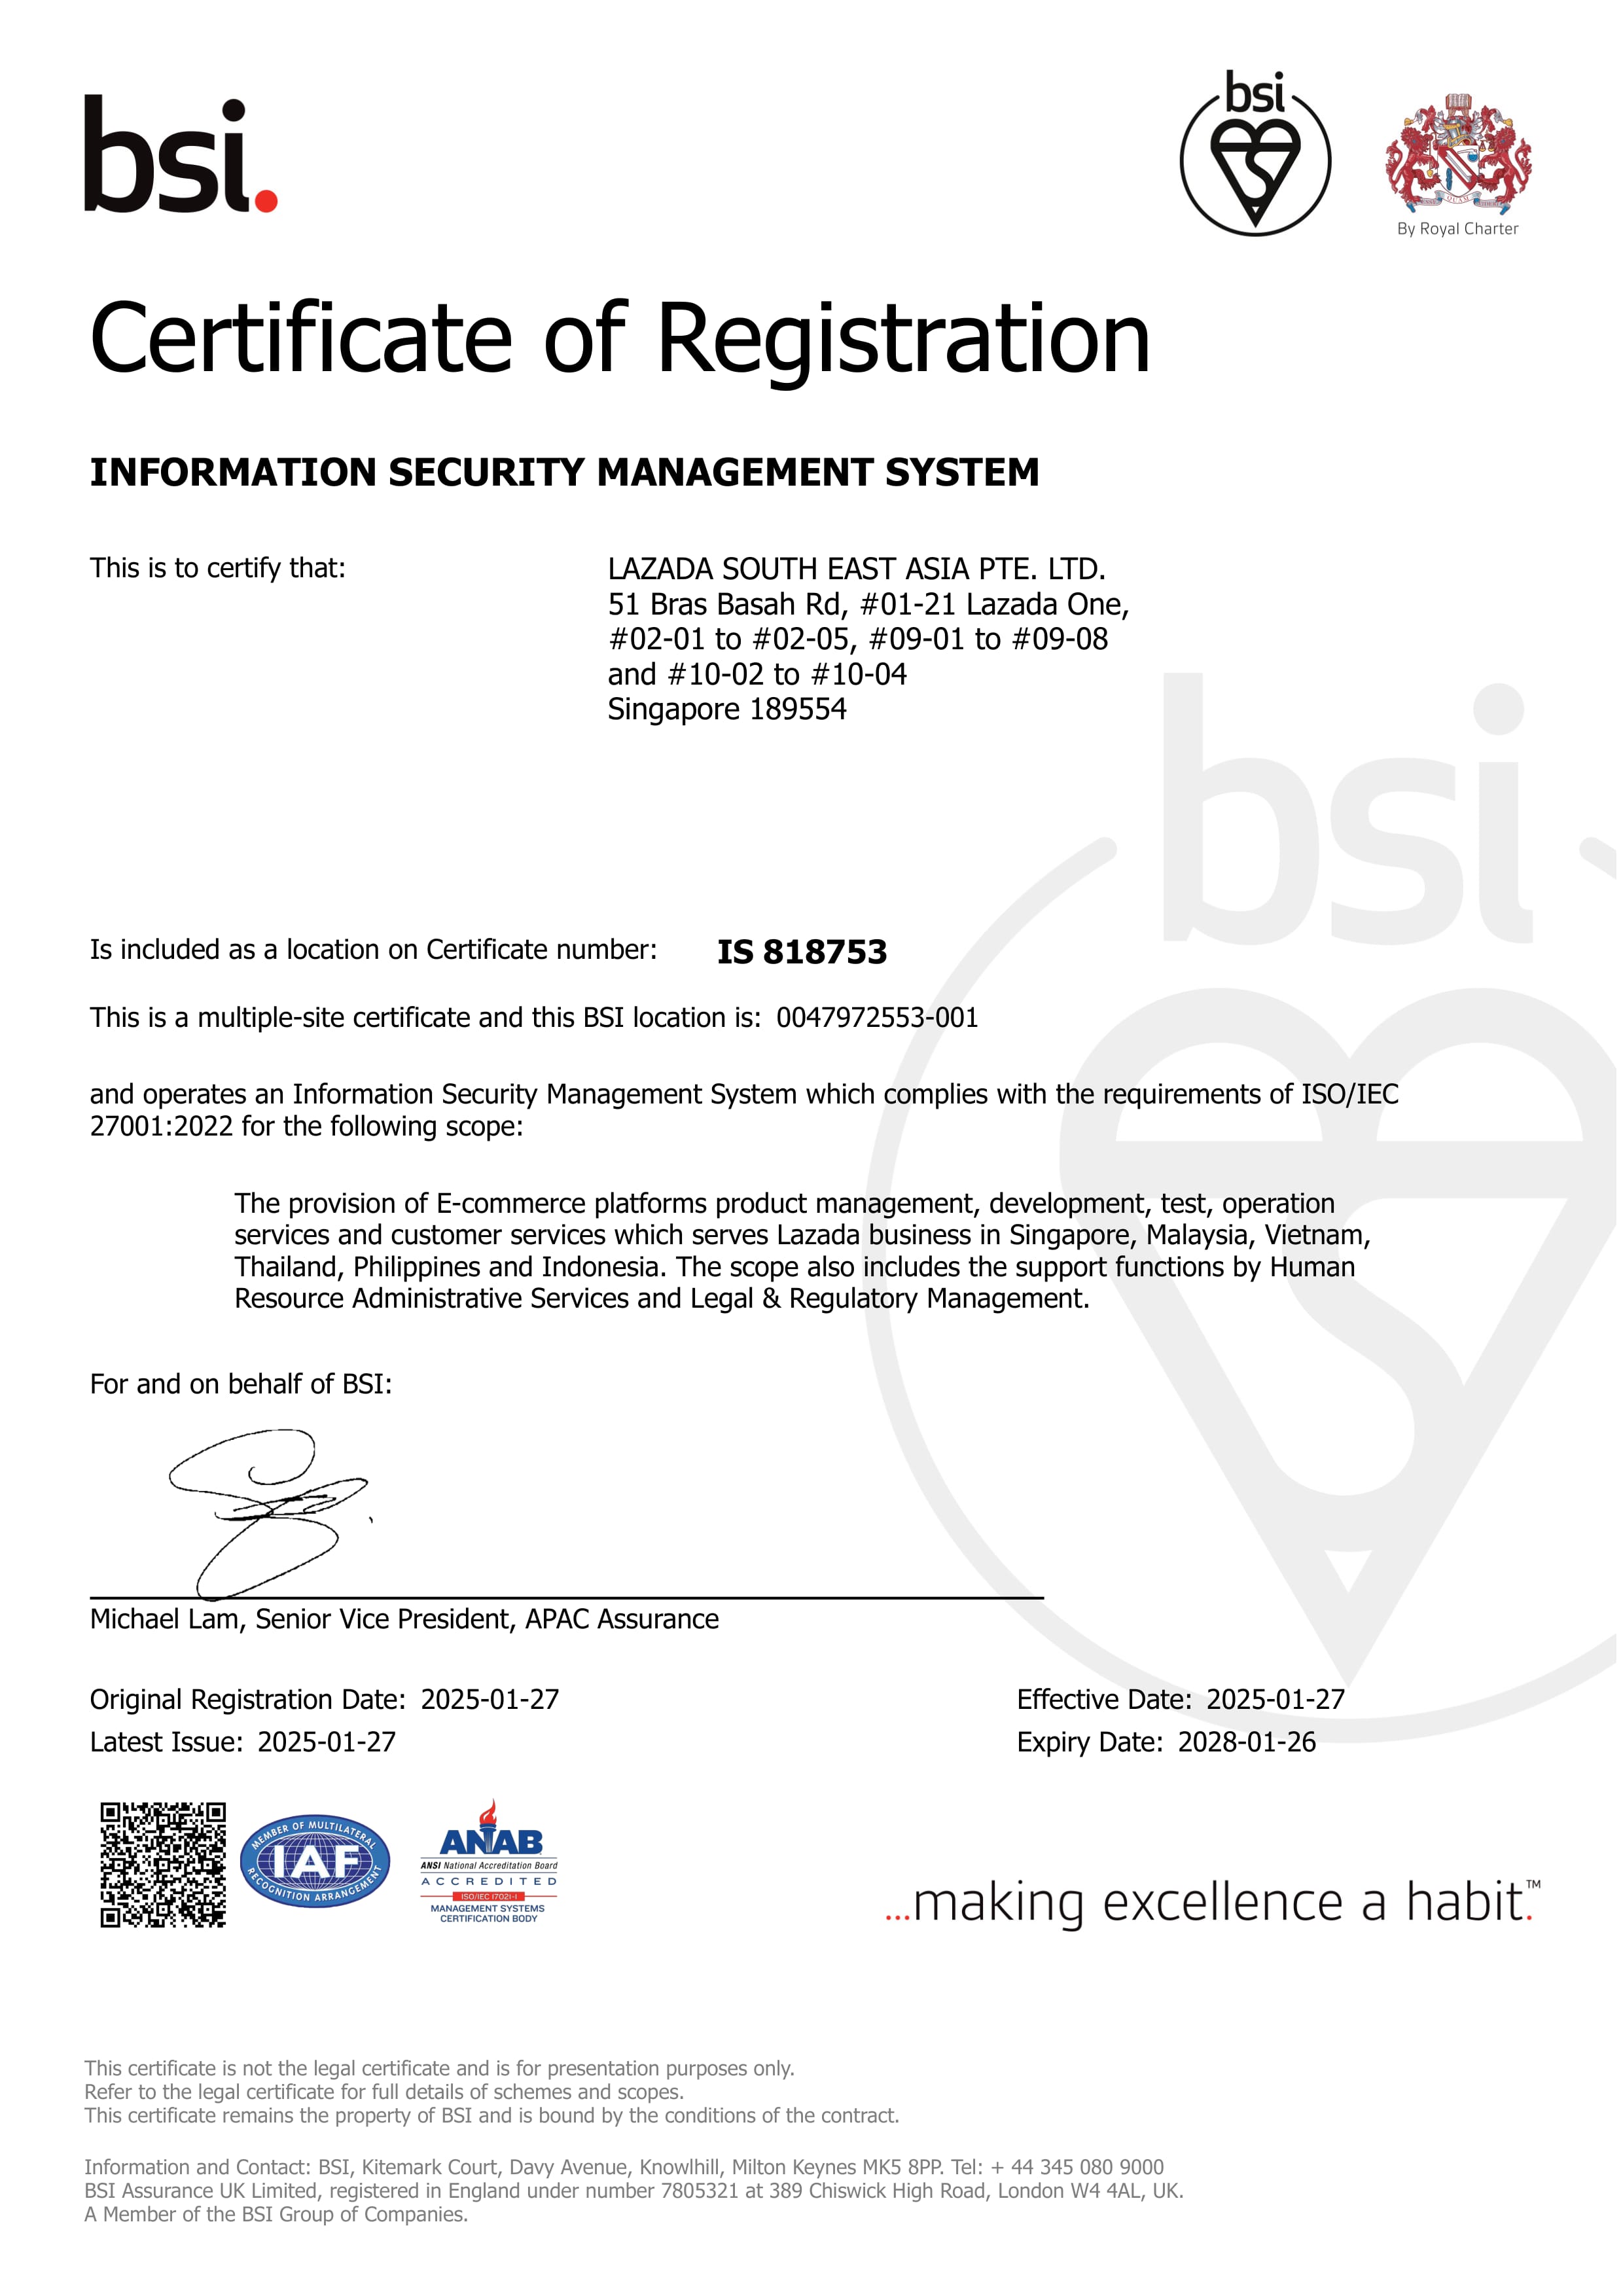


FFBH Wall Mounted Microwave Oven Shelf Stainless Steel Kitchen Storage Rack Modern Seasoning Holder Multifunctional Cookware Shelves B3K9H
.product-description {position: ;max-width: 944.0px;overflow: hidden;} .product-description span {max-width: 100.0%;word-break: break-word;} .product-description img {max-width: 100.0%;vertical-align: middle;} .product-description p {margin: 0;line-height: inherit;} .product-description pre {white-space: pre;white-space: pre-wrap;word-wrap: break-word;} .product-description .video-container-detail {justify-content: center;align-items: center;} .product-description div {} .product-description ul {list-style-type: disc;} .product-description ol {list-style-type: decimal;} .product-description ul, .product-description ol {margin-block-start: 1.0em;margin-block-end: 1.0em;margin-inline-start: 0.0px;margin-inline-end: 0.0px;padding-inline-start: 40.0px;} Product Information Product name: Microwave oven storage rackMaterial: Stainless SteelColor: silver , blackProduct Features 1. Smooth surface that won't cut hands. No burrs that won't hurt hands. Safe and reliable to use2. Smooth panel. The surface of the panel is smooth, not easily stained and easy to clean3. Movable hook. Comes with a hook for more powerful storage function4. Thickened steel. Reinforced to prevent breakage and heighten items to prevent falling5. Thickened and reinforced, easily supports 31kg kg without falling or deforming (Note: The load-bearing effect may vary depending on installation method, wall surface, environment, etc.)Packing List Storage Panel, Hooks*5, Connecting Tube, Screw Accessories, U-Shaped Bracket, No. 1 Screw, Mounting Plate, No. 2 ScrewInstallation Steps 1. Use No. 2 screws to screw the mounting plate onto the U-shaped bracket2. Use No. 1 screws to install the three connecting pipes on the bracket holes3. Thread the hook into the bottom connecting4. Install the bracket on the other side and tighten the screws5. Mark the location where installation is needed6. Use a 6MM electric drill to drill holes at the marked slots7. Insert the expansion tube into the hole8. Tighten the screws in sequence9. Put on the decorative cap10. Install the top shelfAttention:1. due to different measuring tools, manual measurement will have 1-2cm error, the specific size please receive the actual subject!2. Physical shooting, due to differences in lighting, viewing angles, screen resolution, and color cognition. Different mobile phone display effects, computer display effects, and laptop display effects may cause color differences in the product. Please refer to the actual product for accuracy!

FFBH
Review

You May Also Like

MIANXIAOCHENG | Creative Japanese Bodhi Leaf Stainless Steel Tea Strainer
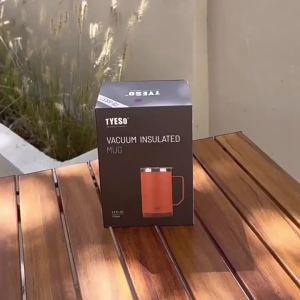
TYESO | Tyeso 530ml Vacuum Flasks Wood Grain Base Desktop Coffee Cup Mug Office Covered Drinking Stylish Functional for Work Home

JUSTINLAU Smart Espresso Coffee Scale Professional Pour Over Drip Electronic Coffee Scale with Timer LED Display Barista Tools

Ice cup summer ice beer cup ice cup cold drink cup double layer sandwich refrigerator quick freezing cup

youqin | Mobile Multi-tier Storage Cart

SHANGYANFANG | Glass Titanium Premium Teapot for Personal Use

USB 400ml Automatic Mixing Cup With Lid Auto Stirring Mug Travel Self Stir High Speed Electric Self Stirring Mug Electric Stirring Rechargeable Coffee Cup Glass With Handle

Stainless Steel Honeycomb Nonstick Less Smoke Frying Pan

Olodo | 316 Stainless Insulated Multi-layer Lunch Box

中式青瓷功夫茶盏 螺旋花瓣造型 斗笠杯手绘花卉主人杯家用泡茶杯

Prepara Apple Splitter